
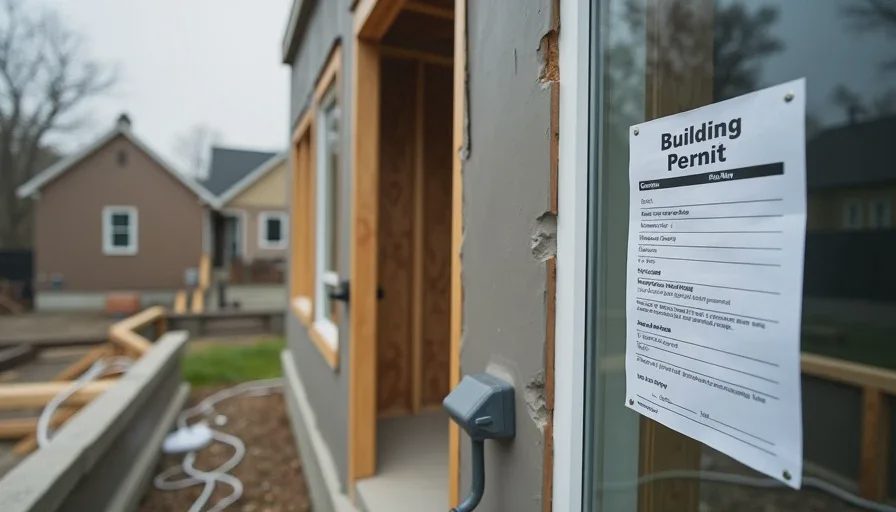
A renovation reaches the rough-in stage. Plumbing and electrical are in place. The contractor tells the homeowner the work is ready for inspection and requests the next progress payment. The homeowner releases the funds. Two weeks later the city inspector fails the electrical rough-in for multiple code issues. The contractor is slow to correct them. The homeowner has already paid for work that has not yet passed the official checkpoint.
This sequence is avoidable. Building permits and the inspections that follow them are not merely bureaucratic hurdles. They are independent verification points that can be tied directly to payment milestones and to the contractor’s obligation to deliver code-compliant work. When the contract ignores them, the homeowner loses a useful layer of control. When the contract uses them deliberately, the official process becomes an ally.
Why Inspections Matter Beyond Code Compliance
A passed inspection is third-party confirmation that a defined portion of the work meets the minimum standard required by the jurisdiction. It is not a quality guarantee and it does not cover finish aesthetics. It does establish that the rough mechanicals, structural changes, or other permitted elements were installed in a way the local authority accepts.
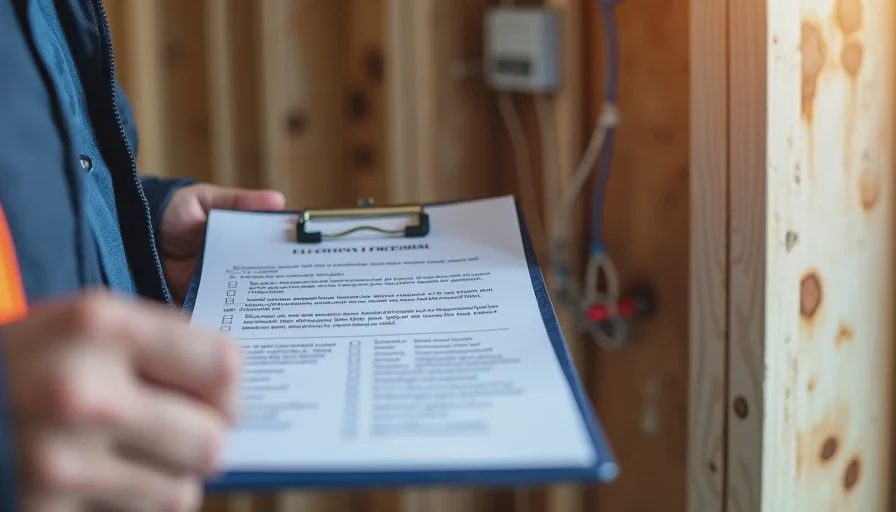
From a contract-management perspective the inspection serves three practical functions. First, it creates a clear, date-stamped milestone that can trigger a progress payment. Second, it forces the contractor to correct deficiencies before the work is concealed. Third, it produces an official record that can matter later if a dispute arises about whether the work was ever code-compliant.
A contractor who treats inspections as an afterthought, schedules them late, or pressures the homeowner to pay before the inspector has signed off is shifting risk. The corrections required by a failed inspection can involve opening finished surfaces, delaying subsequent trades, and generating change-order arguments about who should absorb the cost.
Tying Payments to Inspection Milestones
The cleanest structure links specific progress payments to the passage of required inspections. Typical residential sequences include:
Demolition and any structural changes complete
Rough plumbing inspection passed
Rough electrical inspection passed
Framing or other structural inspection passed (when applicable)
Final inspection passed
A payment schedule that releases a substantial draw “upon completion of rough-in” without requiring the corresponding inspection leaves the homeowner paying for unverified work. Revising the language to “upon completion of rough-in and passage of the required rough plumbing and electrical inspections” restores the checkpoint.
Some jurisdictions combine certain inspections; others require separate visits. The contract should reference the actual inspections required for the specific scope rather than a generic phrase. The homeowner or the contractor can confirm the exact sequence with the local building department before the contract is finalized.
Homeowner Responsibilities and Practical Tracking
In most jurisdictions the property owner is the party ultimately responsible for ensuring that required permits are obtained and that inspections are called. Many homeowners delegate the pulling of permits and the scheduling of inspections to the general contractor. That delegation is workable only when the contract makes the contractor’s obligations explicit and when the homeowner retains visibility.
Request that the contractor provide the permit number, the issuing jurisdiction, and a simple schedule of the inspections that will be required. Ask to be notified when each inspection is scheduled and when the result is known. Keep copies of the inspection reports or the digital records from the jurisdiction’s portal. These documents become part of the project file alongside photos, change orders, and payment records.
If the contractor is slow to call inspections or repeatedly fails them, the homeowner has early warning. Persistent failures can indicate inadequate supervision, under-qualified trades, or an attempt to push non-compliant work forward. Addressing the pattern while the work is still open is far less expensive than discovering it after walls are closed.
Failed Inspections and Cost Responsibility
The contract should state who bears the cost of correcting work that fails inspection. In a fixed-price agreement the ordinary expectation is that the contractor absorbs the cost of bringing the work up to code, because code compliance is part of the original scope. Exceptions can arise when the failure stems from a hidden condition, an owner-directed change, or a conflict between the approved drawings and field conditions that could not reasonably have been anticipated.
Silence on this point produces arguments. A short clause that assigns responsibility for code-compliance corrections to the contractor, unless the failure results from owner changes or unforeseen conditions, prevents most of those arguments.
Final Inspection and Closeout
The final inspection is the last official checkpoint before the project is considered complete by the jurisdiction. Releasing retainage and the final payment before the final inspection has passed removes the homeowner’s strongest remaining leverage. Make passage of the final inspection an explicit condition of the last payment, alongside completion of the punch list and delivery of unconditional lien waivers.
Some jurisdictions issue a certificate of occupancy or a final approval document. When one is required, the contract should make delivery of that document a condition of final payment as well.
Practical Sequence for the Homeowner
Confirm with the local building department which permits and inspections the specific scope will require.
Write the required inspections into the payment schedule as explicit triggers.
Require the contractor to provide permit numbers and to notify the homeowner of inspection dates and results.
Keep copies of all inspection records.
Do not release the corresponding progress payment until the inspection has passed or a written plan for correction is agreed.
Make final inspection passage a condition of retainage release and final payment.
Permits and inspections exist to enforce minimum safety and code standards. They also create a series of independent verification points that a careful contract can use to keep payment aligned with verified progress. Treating them as paperwork to be handled by the contractor alone surrenders that control. Writing them into the payment milestones and tracking them actively turns the official process into one more tool for keeping the project on the rails.