
Framing drywall sounds like a straightforward line item until a contractor quote leaves out backing, access panels, sound control, or the transition between old and new walls. If you are reviewing a basement finish, office conversion, or whole-house renovation, framing drywall deserves the same scrutiny as cabinets or tile. The work determines whether the finished surfaces are flat, durable, and ready for paint, so a vague allowance here can become a costly change order later.
What the framing drywall scope should include
A credible scope starts with a measurable description of the work. It should identify which rooms are included, the approximate wall and ceiling areas, and whether the contractor is building new partitions, furred walls, soffits, or suspended ceilings. “Frame and drywall basement” is not enough. Ask whether that phrase includes layout, lumber or metal studs, fasteners, drywall sheets, corner bead, joint compound, sanding, and cleanup.
The quote should also explain what happens at doors, windows, stairs, mechanical chases, and structural posts. These locations require more than uninterrupted sheets. Door openings need proper framing, headers where required, and backing for trim. A wall receiving cabinets, grab bars, television mounts, or heavy shelving needs blocking before the drywall closes it in. If that work is not listed, you could later pay $300 to $1,500 for repairs or surface-mounted compromises.
Clarify the board type as well. Standard half-inch drywall is common on many walls, while ceilings can require a different thickness or spacing plan. Moisture-resistant board, fire-rated assemblies, and sound-reducing systems cost more and are not interchangeable. A good framing drywall description names the material and its intended location rather than leaving the decision to the crew.
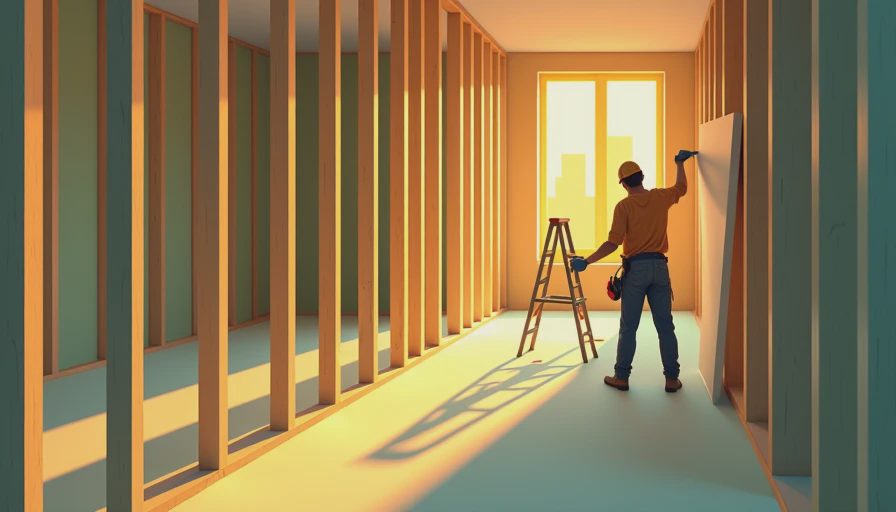
How to compare framing drywall prices
Price comparisons are useful only when the scopes match. One contractor might quote $8,500 for labor and materials across a 1,200-square-foot basement, while another quotes $6,200 but excludes insulation, ceilings, disposal, and primer. The lower number is not a bargain if those exclusions add $4,000 after work begins.
Separate the quote into labor, materials, permits, disposal, and allowances. You do not need a perfect unit price, but you do need to know what drives the total. A contractor charging $4 to $7 per square foot for a combined wall-and-ceiling package may be working from a different scope than one charging $8 to $12 for a more finished assembly. Regional labor markets, room complexity, ceiling height, and finish level all matter.
Look for language covering minor surface imperfections. Level 3 finishing may be adequate behind textured surfaces, while smooth painted walls generally demand more preparation. If the quote promises “ready for paint,” ask whether that means final sanding only or includes primer. Primer is often separate, and it can add several hundred dollars in a medium-sized project.
Questions that expose missing work
Before accepting a framing drywall proposal, ask for answers in writing. Will the crew protect flooring and furniture? Who moves stored items? Is demolition included? Will old plaster, damaged insulation, or abandoned wiring be removed, or will the team work around it? Each answer affects schedule and price.
Ask how the contractor will handle electrical and plumbing inspections. In many remodels, rough mechanical work must be inspected before walls are closed. A responsible sequence leaves time for corrections instead of installing board immediately and reopening it later. The quote should state whether the contractor returns for patching after inspections or treats that visit as extra work.
Also ask about access. A basement with a narrow stairway can require smaller sheet goods, additional carrying time, or more seams. A second-floor addition may need exterior staging. Those logistical facts are not excuses for an unclear bid; they are reasons the scope should be specific.
For framing drywall around existing construction, ask how the new plane will meet old walls. A visible bump of even a quarter inch can create trim problems, cracked joints, or an awkward corner. Have the contractor mark the transition and explain whether they will shim, fur, remove material, or use a trim detail.
Change orders and payment controls
The most useful contract does not pretend surprises never happen. It explains how surprises are documented. A change order should describe the condition, proposed solution, added or reduced cost, and schedule impact. Do not approve a verbal request such as “we need another $900 for backing” while the crew is already closing the wall.
For framing drywall, retain enough payment until the work is inspectable and the finish quality is clear. A common structure is a deposit for scheduling and materials, progress payments tied to completed stages, and a final payment after punch-list corrections. The exact percentages depend on local law and the project, but paying nearly everything before drywall is taped removes your leverage.
Photograph walls before they close. Capture plumbing routes, wiring, blocking, insulation, and any repair areas with a tape measure in the frame. Store the images with the contract. This takes fifteen minutes and can save hours if you later need to mount a fixture or explain why a hidden condition triggered a dispute.

Quality checks before the final payment
Inspect framing drywall in daylight and with a bright work light held at an angle. Look for visible ridges, screw pops, open joints, chipped corners, and inconsistent corner bead. Run a long level across walls where possible. Small variations are normal in existing homes, but broad waves or tilted openings deserve a written punch-list item.
Check doors and windows before final sanding. Trim should have solid backing, reveals should look consistent, and the drywall should not interfere with casing. Confirm that electrical boxes are accessible and set at a reasonable depth. Verify that access panels, shutoff valves, cleanouts, and filters remain reachable.
If smooth walls are part of the agreement, inspect after primer rather than relying only on the contractor’s description. Primer reveals joint lines that can disappear under dust. A fair punch list might include another coat of compound, sanding, corner repair, or cleanup. It should not quietly expand into unrelated design changes.
A practical quote-review checklist
Read the quote once for the total and again for omissions. Then confirm the room list, square footage, board type, ceiling treatment, openings, backing, insulation interface, fire-rated areas, finishing level, primer, cleanup, permits, and inspection responsibilities. Circle every phrase such as “as needed,” “allowance,” or “by others.” Those phrases are not automatically wrong, but each needs a defined decision point.
Compare at least two detailed proposals, not merely two totals. A contractor who spends time measuring and explaining the assembly is giving you useful information before receiving a deposit. That does not guarantee perfect execution, but it gives you a stronger baseline for accountability.
The best framing drywall contract is not the longest document. It is the one that makes the finished result easy to picture and the unfinished responsibilities difficult to hide. Review it line by line, require written changes, and keep your payment schedule tied to visible progress. Enter the renovation with a clear scope, and you preserve both your budget and your leverage.